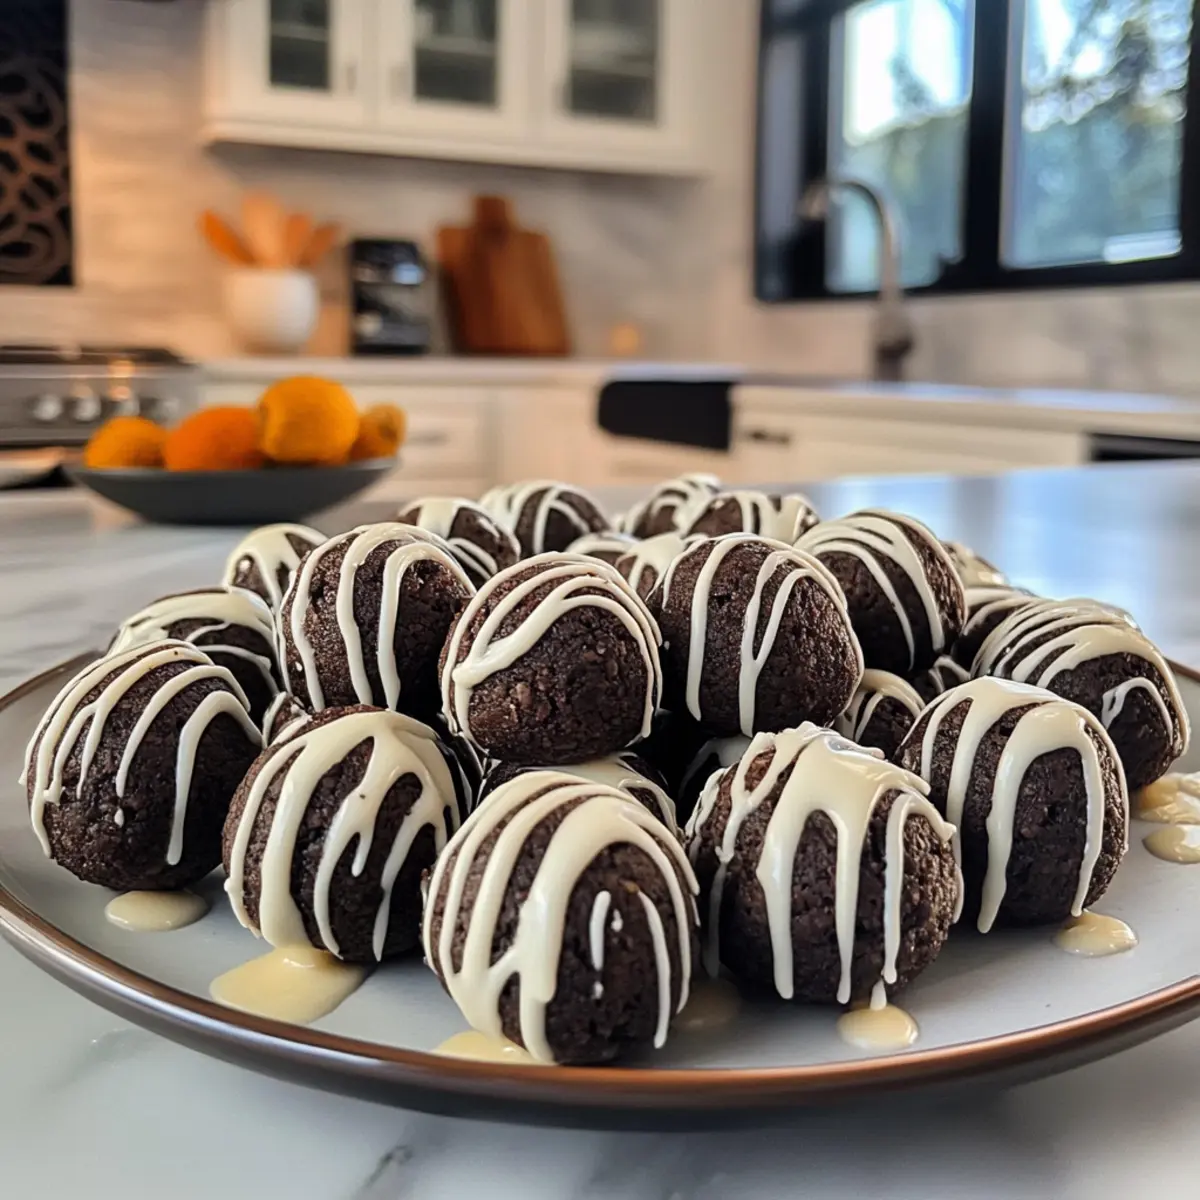
As the crisp air settles in and Halloween approaches, I find myself drawn to the kitchen, ready to whip up something playful and delicious. One evening, while brainstorming easy treats that would light up a gathering, I stumbled upon the idea of Mummy Oreo Balls. These delightful no-bake goodies combine the rich flavor of classic Oreos with a creamy filling, all wrapped in a sweet white chocolate coat that even the scariest of ghouls would be thrilled to unwrap.
The moment you take a bite, the satisfying crunch gives way to a smooth, decadent center that’s both comforting and festive. With their googly eyes peeking out, these little mummies add a touch of whimsy to any Halloween spread. What I love most about this recipe? It’s approachable enough for anyone to make—whether you’re a seasoned chef or a busy parent looking for an easy dessert that dazzles. Join me in creating these irresistibly adorable treats, perfect for sharing (or sneaking away for yourself)!
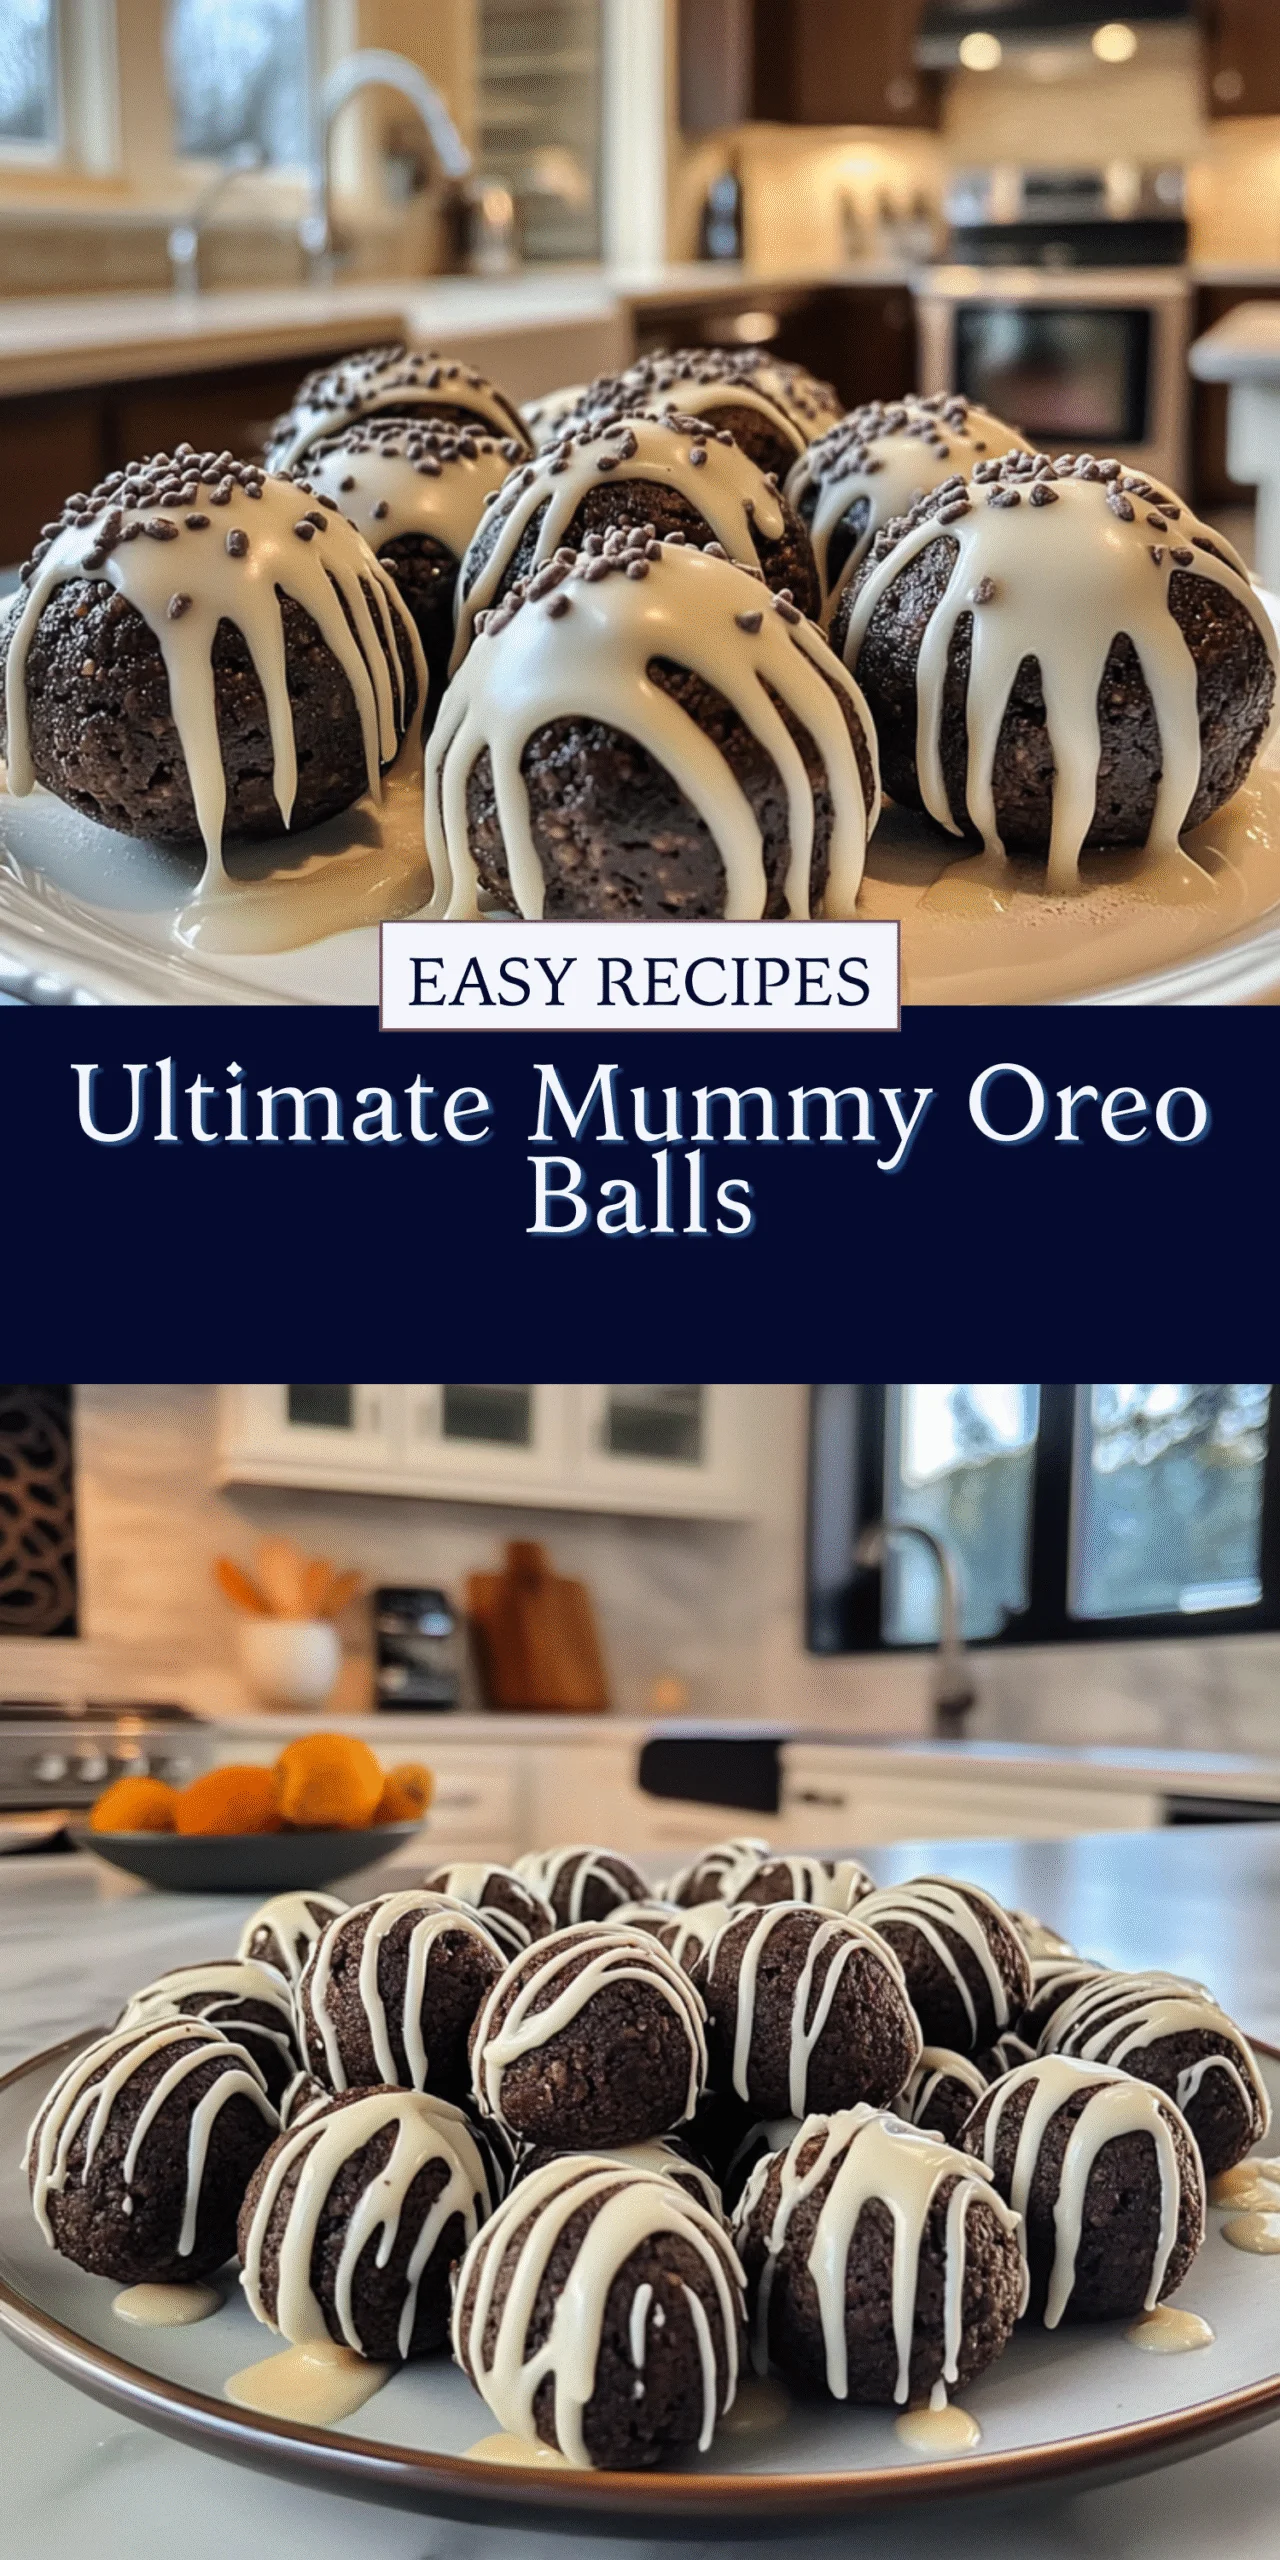
Why you’ll love these Ultimate Mummy Oreo Balls?
Simplicity: This no-bake recipe means you can whip up these treats without the fuss of traditional baking!
Irresistible Flavor: The chocolatey Oreo base paired with creamy cream cheese creates a sweet indulgence that’s hard to resist.
Visual Appeal: Their adorable mummy design instantly adds charm to your Halloween gathering, making them a standout dessert.
Crowd-Pleaser: Kids and adults alike will be reaching for these delightful treats, ensuring they disappear quickly!
Versatile Treat: Easily adjust the flavors by trying different Oreo varieties or chocolate coatings—there’s a mummy for everyone!
If you’re looking for another fun Halloween treat, consider making these delightful Sharp Cheddar Dip to share alongside your Mummy Oreo Balls for a festive feast!
Ultimate Mummy Oreo Balls Ingredients
Get ready to create the cutest Halloween treats with these key ingredients!
For the Filling
• Oreo Cookies – The foundation of flavor and crunch; classic chocolate works best, but feel free to experiment with seasonal varieties!
• Cream Cheese – Adds a luscious, creamy texture; opt for full-fat for the most delicious results.
For the Coating
• White Chocolate or Candy Melts – Ensures a sweet and smooth mummy wrapping; dark chocolate can be used for a twist on flavor.
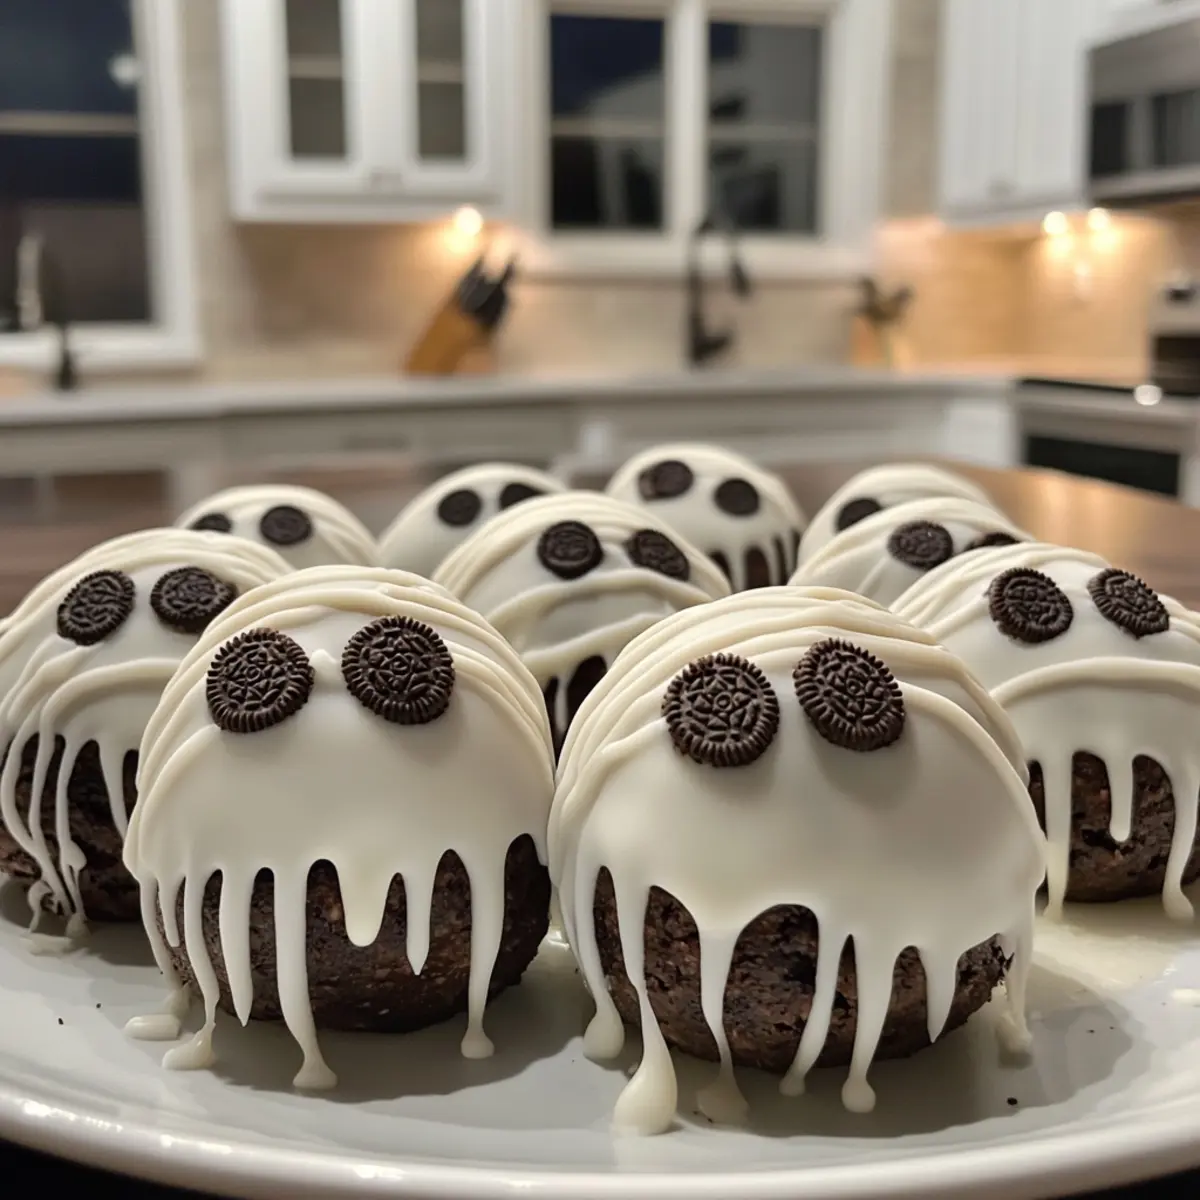
For Decoration
• Candy Eyes – The finishing touch that gives life to your mummies; swap them for chocolate chips if you prefer!
Dive into making these Ultimate Mummy Oreo Balls and watch your Halloween gatherings come alive with festive fun!
How to Make Ultimate Mummy Oreo Balls
-
Crush the Oreos:
Pulse the Oreo cookies in a food processor until finely crushed. This creates the perfect truffle base for your Ultimate Mummy Oreo Balls. -
Mix the Filling:
Combine the crushed Oreo crumbs with softened cream cheese in a mixing bowl. Blend until smooth and entirely homogeneous, ensuring every bite is rich and creamy! -
Form the Balls:
Roll the mixture into 1-inch balls and place them on a parchment-lined tray. Chill these little mummies in the refrigerator for at least 20-30 minutes until firm. -
Melt the Coating:
Melt the white chocolate or candy melts in a microwave-safe bowl, stirring every 30 seconds until smooth. Be cautious not to overheat, aiming for a silky consistency. -
Coat the Balls:
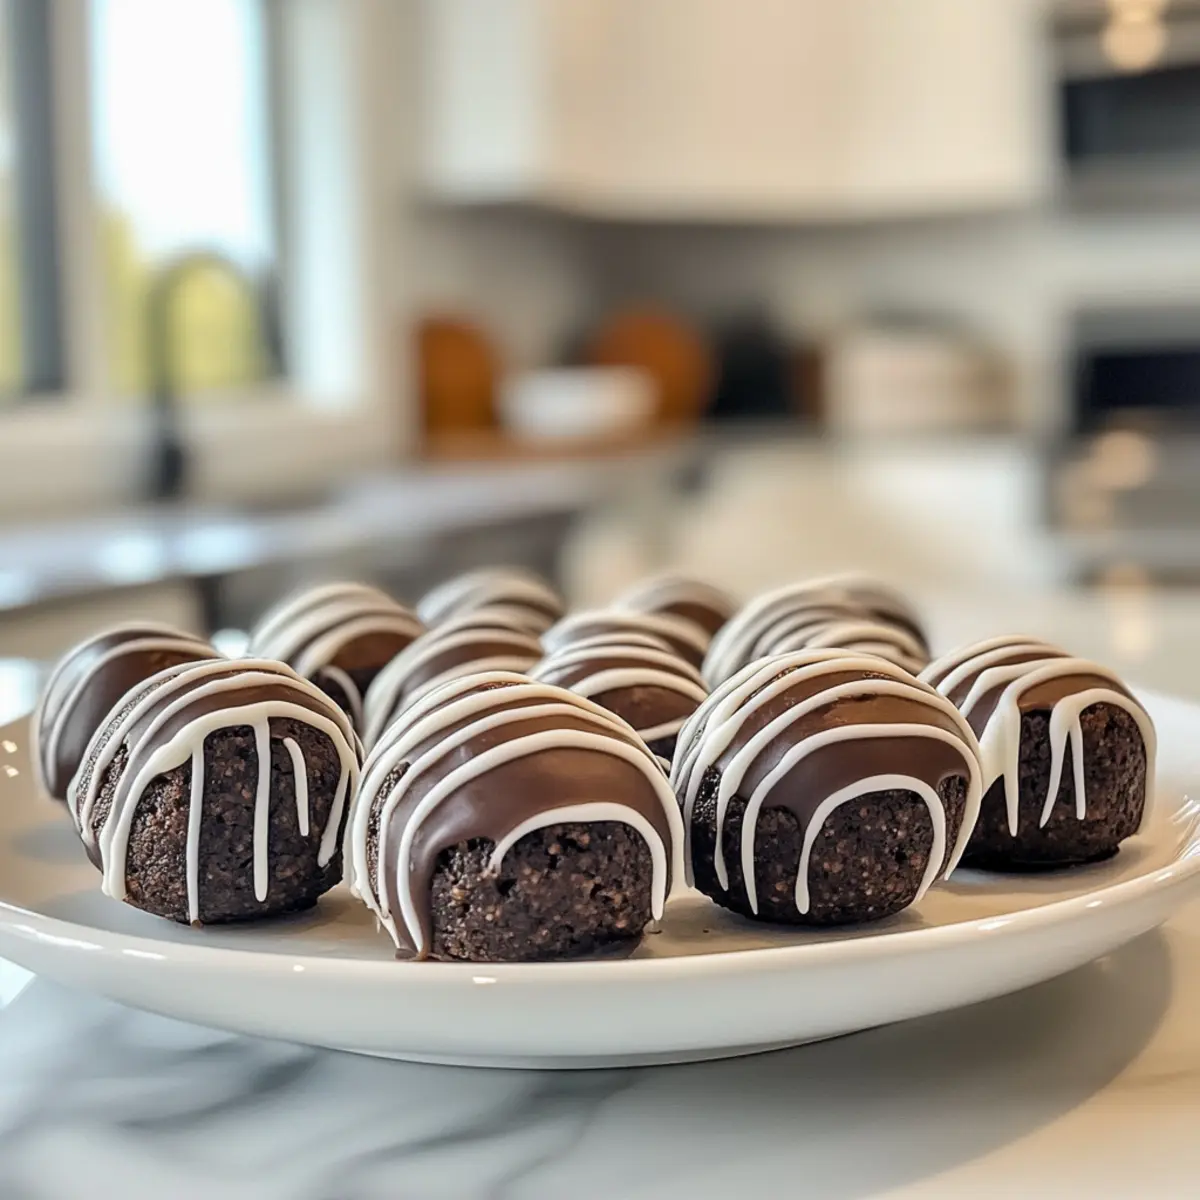
Dip each chilled Oreo ball into the melted chocolate, ensuring they are fully coated. Arrange them back on the parchment to allow the coating to harden. -
Drizzle for Decoration:
After the chocolate sets slightly, drizzle additional melted chocolate over the top to create mummy wraps. This adds texture and charm to each ball! -
Add the Eyes:
Before the drizzle completely sets, press two candy eyes onto each ball using tweezers or a toothpick. This finishing touch brings your mummies to life! -
Final Chill:
Chill the mumified treats until fully set. Serve them cold for the most delightful experience or store them in the refrigerator for later enjoyment.
Optional: Sprinkle some festive sprinkles for an extra Halloween flair!
Exact quantities are listed in the recipe card below.
Storage Tips for Ultimate Mummy Oreo Balls
Room Temperature: Store in a cool, dry place for up to 2 hours; avoid direct sunlight to maintain quality and prevent melting chocolate.
Fridge: Keep your Mummy Oreo Balls in an airtight container lined with parchment between layers for up to 1 week, ensuring they stay fresh and delicious.
Freezer: Freeze for up to 2 months in an airtight container; let them thaw for 10–15 minutes at room temperature before serving for the best texture.
Reheating: These treats should be enjoyed cold; simply remove them from the fridge or freezer and serve directly for the most delightful experience!
Ultimate Mummy Oreo Balls Variations
Feel free to get creative with these fun twists on the classic Mummy Oreo Balls that will elevate your Halloween treats!
-
Golden Oreos: Switch to Golden Oreos for a sweeter taste and a lighter color, giving your mummies a unique twist.
-
Peanut Butter Cream Cheese: Substitute cream cheese with peanut butter for a nutty flavor that pairs beautifully with chocolate.
-
Dark Chocolate Coating: For a richer profile, use dark chocolate instead of white chocolate, creating a deliciously decadent contrast.
-
Minty Fresh: Add a few drops of mint extract into the filling for a refreshing kick that pairs perfectly with chocolate.
-
Spicy Kick: Mix in a pinch of cayenne pepper or chili powder for a surprising heat that complements the sweet layers.
-
Coconut Flakes: Roll the dipped mummies in toasted coconut flakes to add an exotic flavor and a bit of texture to your spooky treats.
-
S’mores Style: Incorporate crushed graham crackers into the Oreo mixture for a fun s’mores twist—deliciously sweet and delightfully crunchy.
-
Rainbow Sprinkles: For an eye-catching touch, decorate the mummies with colorful sprinkles for added fun—everyone loves a sprinkle party!
Embrace the spirit of Halloween by customizing your Mummy Oreo Balls—no matter how you make them, they’ll be a hit at any gathering!
Make Ahead Options
These Ultimate Mummy Oreo Balls are perfect for meal prep, allowing busy home cooks to get a head start on their Halloween treats! You can prepare the Oreo and cream cheese mixture up to 24 hours in advance; simply roll the mixture into 1-inch balls and store them in an airtight container in the fridge. If you’d like to take it a step further, you can also dip the chilled balls in melted white chocolate up to 3 days ahead. Just cover your decorated mummies well, and they’ll remain just as delicious! When ready to serve, drizzle with additional melted chocolate and add the candy eyes for that final spooky touch! Enjoy the time-saving benefits and impress your guests with these adorable treats!
Expert Tips for Ultimate Mummy Oreo Balls
-
Perfectly Crushed Cookies: Keep Oreos in the processor until they’re fine crumbs; avoid big chunks for a smooth filling that holds together.
-
Cream Cheese Temperature: Make sure your cream cheese is softened to room temperature. This ensures it blends easily with the Oreo mixture for a creamy texture.
-
Chill Time Matters: Don’t rush the chilling time; allow the rolled balls to chill thoroughly. This step prevents the balls from losing shape when dipped in chocolate.
-
Careful Melting: Melt chocolate with patience; overcooking can lead to seized chocolate that won’t coat well. Stick to short intervals for the best results.
-
Creative Eyes: If you can’t find candy eyes, chocolate chips work as a charming alternative. Just press them in before the drizzle sets to keep mummies spooky!
What to Serve with Ultimate Mummy Oreo Balls?
Transform your Halloween gathering into a delightful feast with some tasty companions that enhance the festive fun!
-
Crispy Apple Slices: Perfectly crunchy and sweet, they provide a refreshing contrast to the rich, creamy texture of the Oreo balls. Kids love them, especially when paired with nut butter for dipping.
-
Homemade Pumpkin Spice Hot Chocolate: This warm, cozy drink adds a seasonal touch to your dessert table, complementing the chocolatey sweetness beautifully. The comforting spices will make your Halloween feel extra special.
-
Chocolate-Covered Pretzels: Their salty crunch offers a nice balance to the sweetness of the mummies. Plus, their festive colors can be fun and eye-catching on a platter.
-
Chilling Spooky Punch: A bright and bubbly punch, infused with fruits and possibly even some gummy worms, creates a playful atmosphere at your celebration. It’s both a visual treat and a refreshing drink option.
-
Miniature Ghost Cupcakes: These little treats carry on the spooky theme, with fluffy frosting and fun designs that bring a whimsical touch to the table. They’re bound to disappear alongside the Mummy Oreo Balls!
-
Cheese and Cracker Platter: A savory option to balance out all the sweetness—choose a mix of sharp and creamy cheeses with some crunchy crackers. The pairings will satisfy all tastes.
Bring together these delightful pairings to create a memorable Halloween atmosphere that everyone will enjoy!
Ultimate Mummy Oreo Balls Recipe FAQs
What kind of Oreos should I use for the recipe?
I recommend using classic chocolate Oreos for the best flavor and texture! However, feel free to experiment with seasonal flavors like pumpkin spice or red velvet to add a unique twist to your Mummy Oreo Balls.
How do I store leftover Mummy Oreo Balls?
Store your Mummy Oreo Balls in an airtight container with parchment paper between layers to prevent sticking. They can last up to 1 week in the refrigerator, so you can enjoy them as a sweet treat throughout the week!
Can I freeze Mummy Oreo Balls?
Absolutely! You can freeze these cute treats for up to 2 months. Just place them in an airtight container, and when you’re ready to indulge, let them thaw for 10-15 minutes at room temperature for the perfect texture.
What should I do if my chocolate coating is too thick?
If your melted chocolate seems too thick for an even coating, you can add a small amount of vegetable oil or coconut oil to thin it out. Stir well until you reach a smooth, pourable consistency that will coat your Mummy Oreo Balls beautifully.
Are there any dietary considerations for pets or allergies?
Yes! Please avoid feeding Mummy Oreo Balls to pets, especially due to the chocolate content, which can be toxic to dogs and cats. If you’re concerned about allergies, make sure to check the ingredient labels for any specifics, like gluten in Oreos or dairy in cream cheese. You can also substitute with allergy-friendly alternatives if needed.
How can I make these Mummy Oreo Balls more festive?
For a fun twist, try adding colorful sprinkles on top before the chocolate drizzle sets! This adds an extra festive flair that is sure to delight both kids and adults at your Halloween gathering.

Irresistibly Easy Ultimate Mummy Oreo Balls for Halloween Fun
Equipment
- Food processor
- mixing bowl
- Parchment-lined tray
- Microwave-safe bowl
Ingredients
For the Filling
- 1 package Oreo Cookies Classic chocolate works best
- 8 oz Cream Cheese Softened
For the Coating
- 12 oz White Chocolate or Candy Melts Dark chocolate can be used for a twist
For Decoration
- 1 cup Candy Eyes Chocolate chips can be used instead
Instructions
How to Make Ultimate Mummy Oreo Balls
- Crush the Oreo cookies in a food processor until finely crushed.
- Combine the crushed Oreo crumbs with softened cream cheese in a mixing bowl. Blend until smooth.
- Roll the mixture into 1-inch balls and place them on a parchment-lined tray. Chill for at least 20-30 minutes.
- Melt the white chocolate or candy melts in a microwave-safe bowl, stirring every 30 seconds until smooth.
- Dip each ball into the melted chocolate, ensuring they are fully coated. Arrange back on parchment to harden.
- Drizzle additional melted chocolate over the top to create mummy wraps.
- Press two candy eyes onto each ball before the drizzle completely sets.
- Chill the treats until fully set. Serve cold.
Notes


Leave a Comment