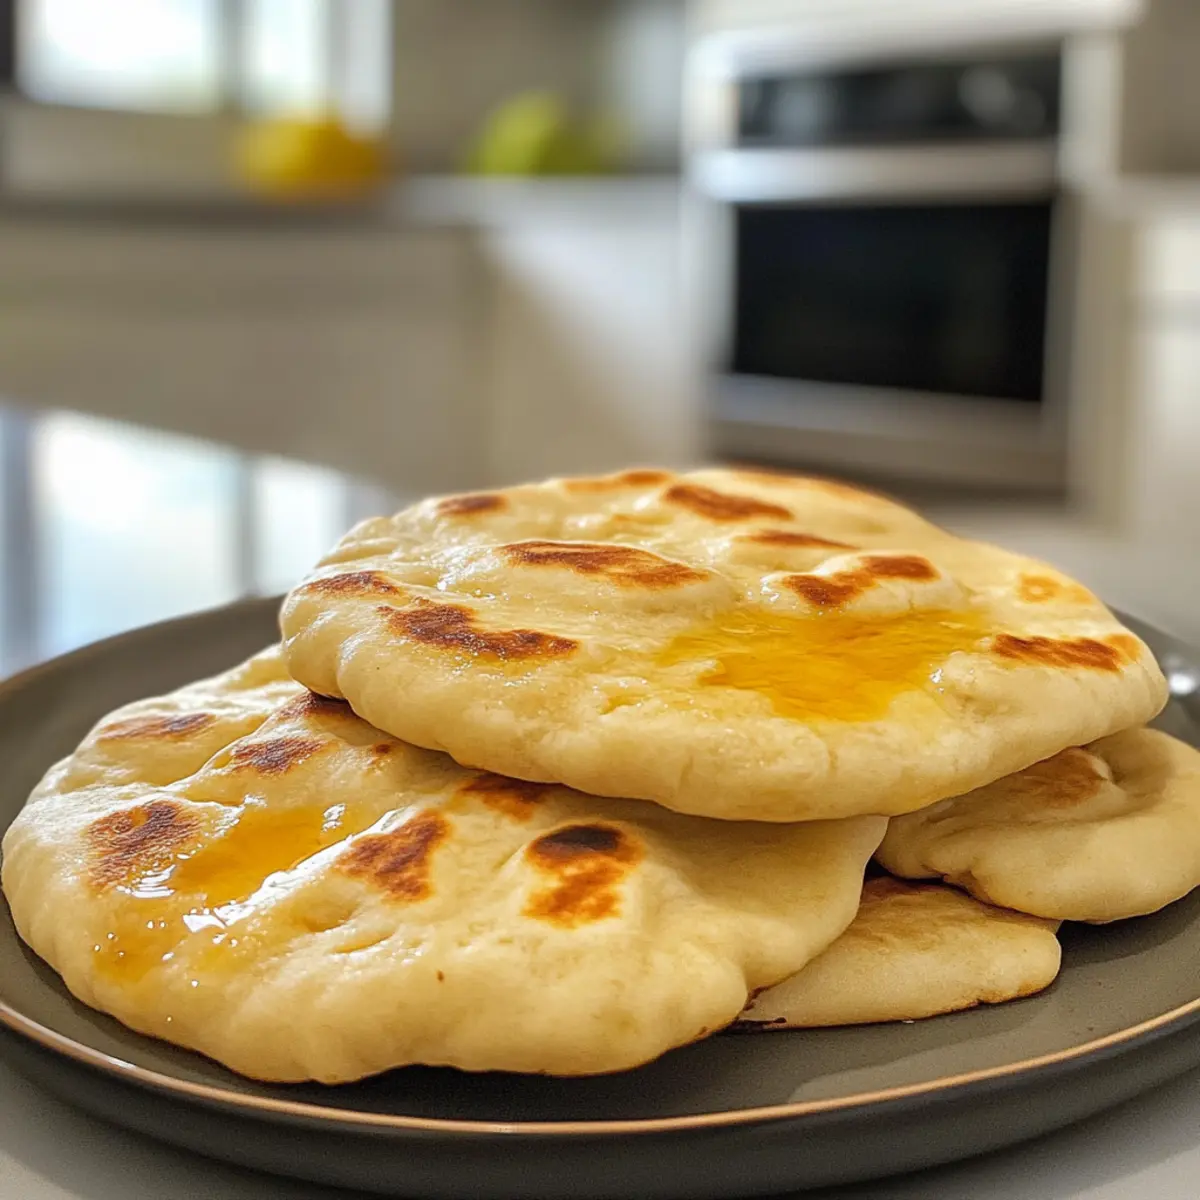
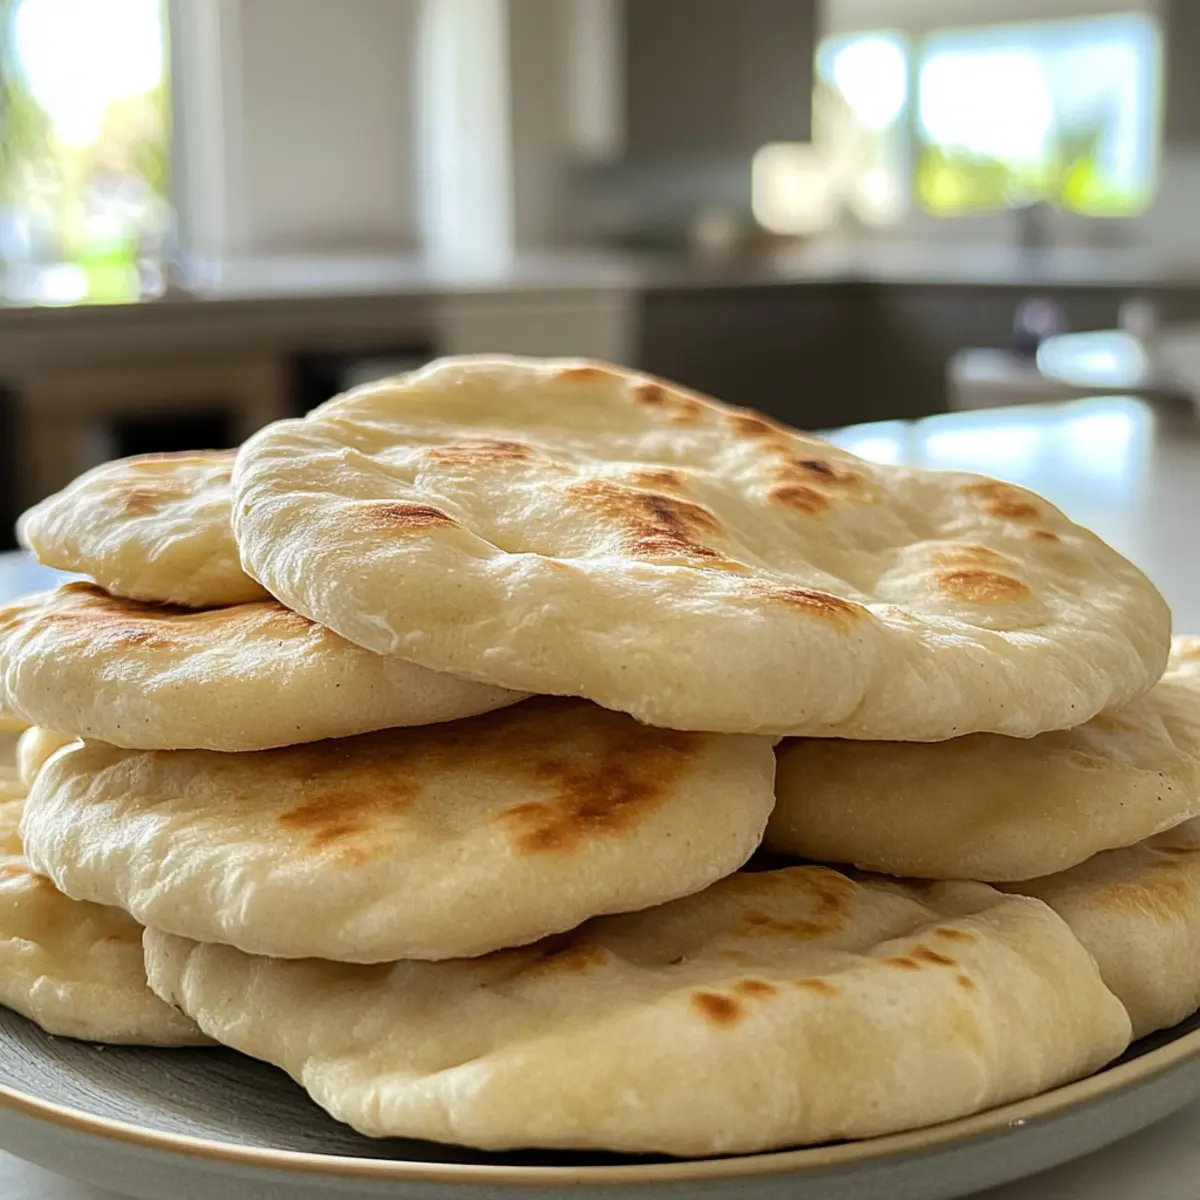
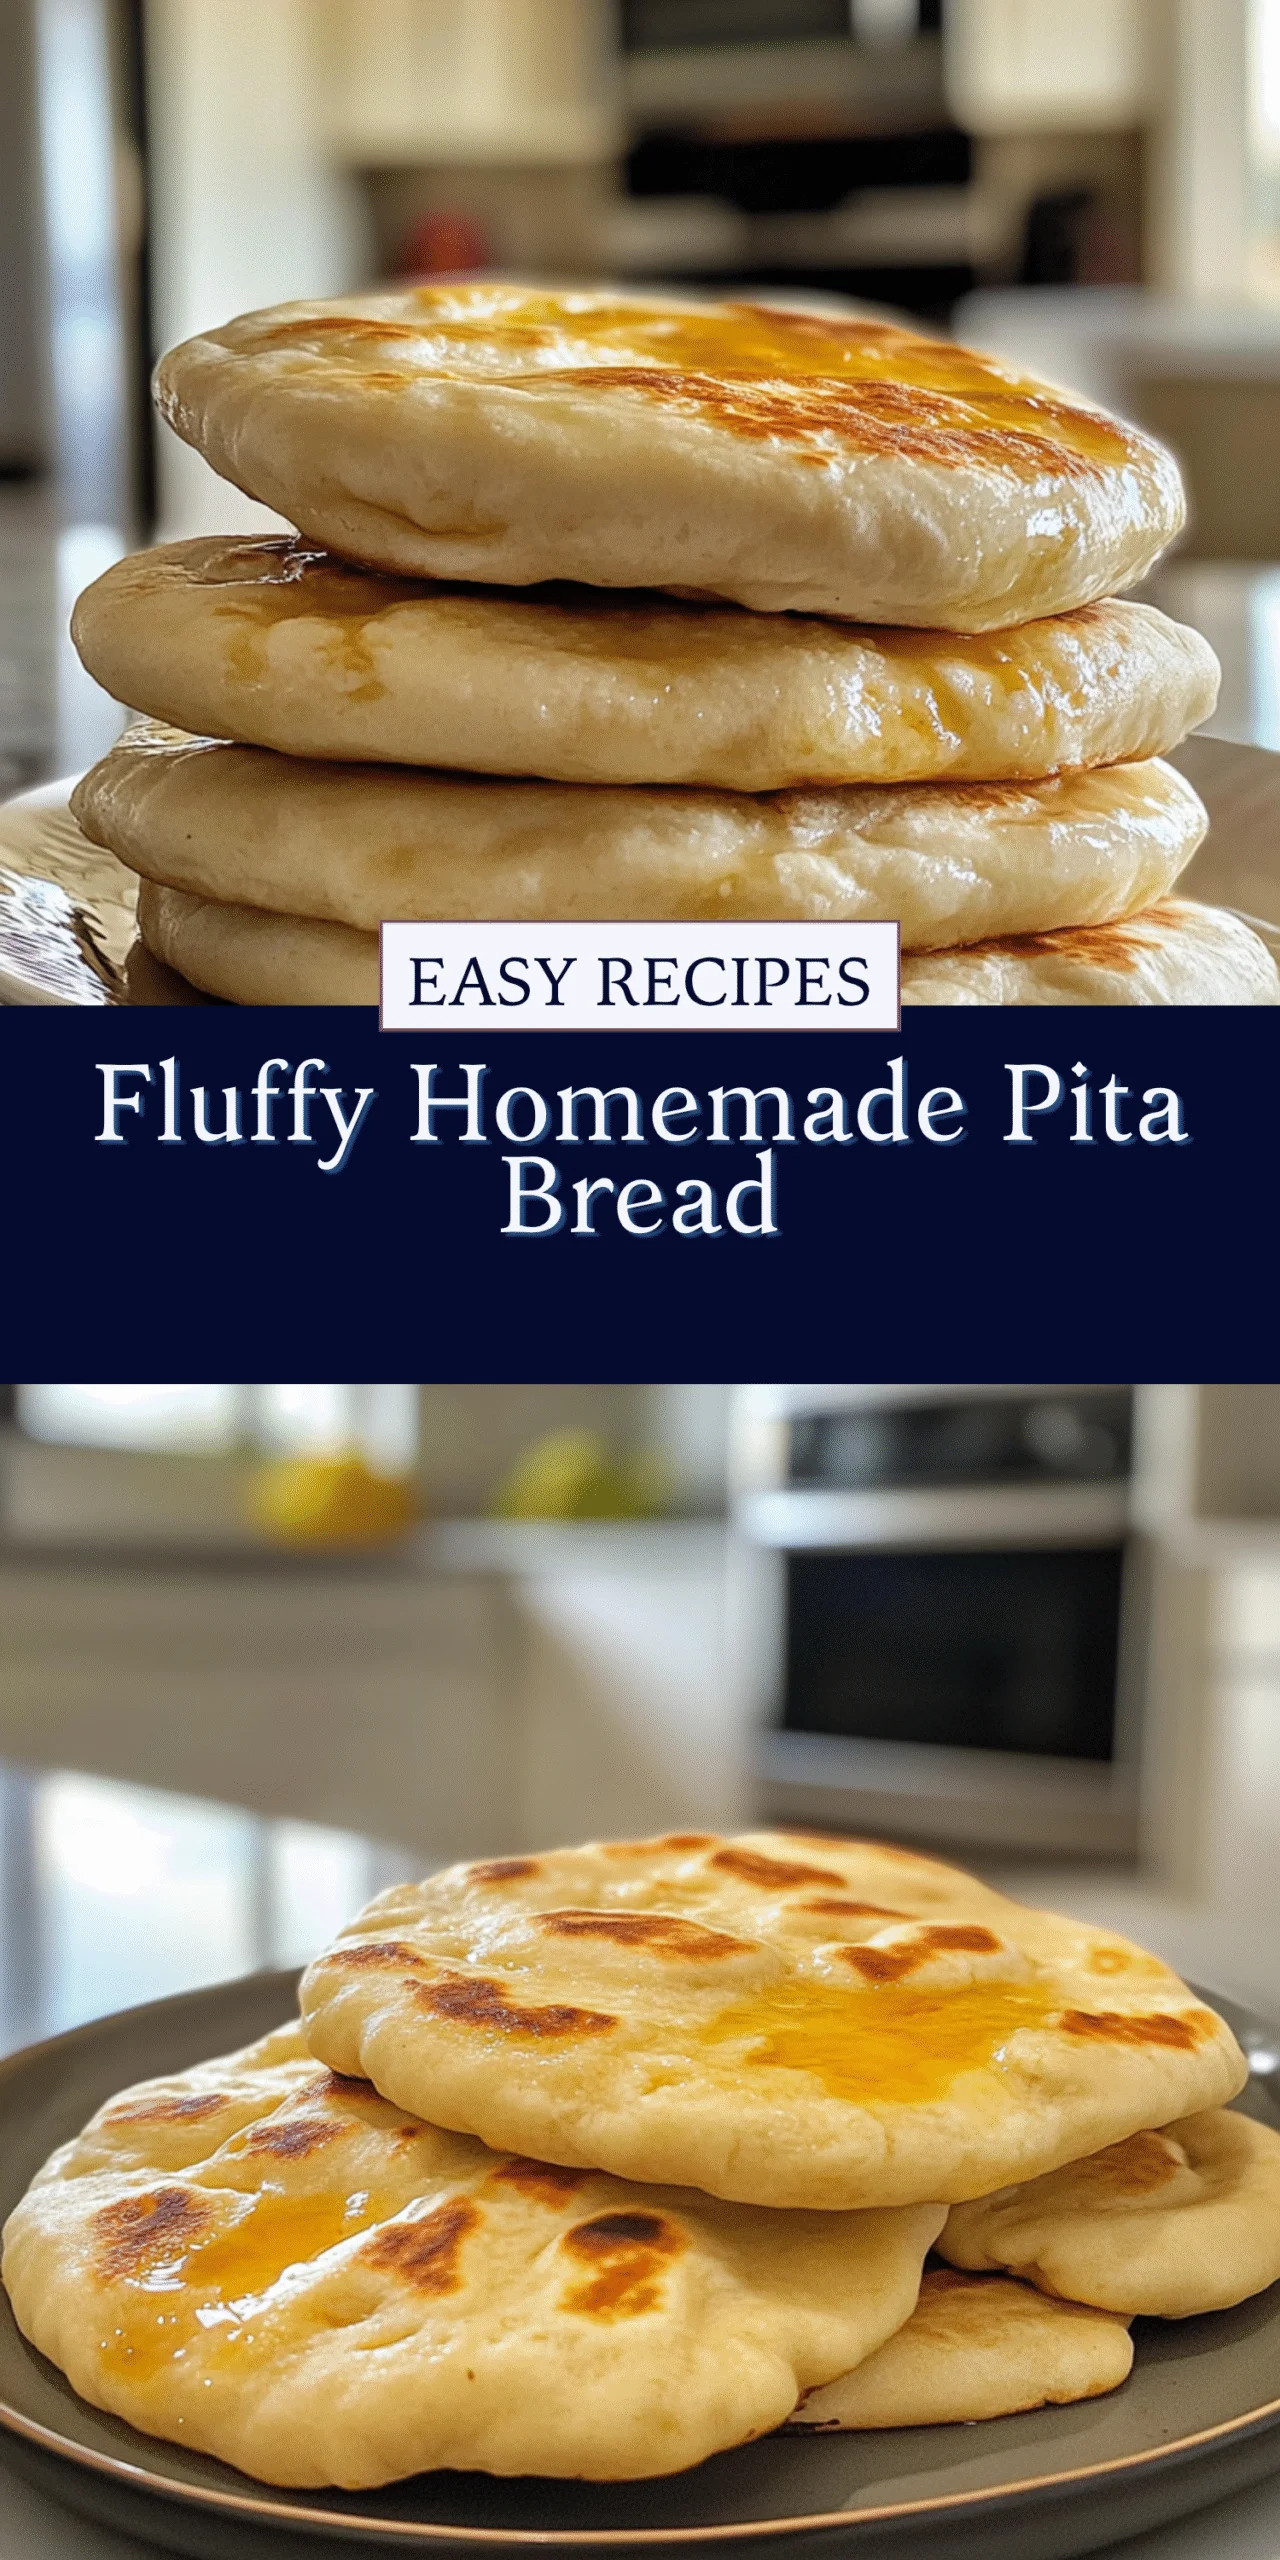
There’s something truly magical about the moment when a simple dough transforms into warm, fluffy homemade pita bread. The first time I pulled freshly cooked pitas from the skillet, the delightful puff and the inviting aroma of yeast instantly made me feel like a culinary wizard in my own kitchen. Gone are the days of dull, store-bought versions—I discovered that making my own pita took just a bit of time and was an absolute game-changer!
Whether you’re planning a cozy night in with falafel, a vibrant spread of dips like hummus, or a picnic with Mediterranean flair, these pitas provide the perfect pocket for all your favorites. Plus, you can easily customize the flavor with herbs or spices, making them as versatile as they are delicious. With this simple recipe in hand, you’ll finally be able to enjoy that fresh, homemade taste any day of the week. So dust off your apron and let’s get baking!
Why is Fluffy Homemade Pita Bread a must-try?
Transformative Experience: The magic of homemade bread is unmatched, and this pita brings a fresh twist to your meals.
Endless Versatility: Perfect for stuffing with your favorite fillings or serving alongside an array of dips.
Customizable Flavors: Experiment with herbs and spices to match your taste.
Simple Preparation: A beginner-friendly recipe that anyone can master.
Quality Assurance: Enjoy the delight of knowing exactly what’s in your bread, providing a healthier alternative to store-bought options.
Next time you’re looking for an impressive yet simple dish, dive into this recipe and enjoy the satisfaction of baking your own pita!
Fluffy Homemade Pita Bread Ingredients
• Get ready to create deliciousness!
For the Dough
- All-Purpose Flour – Provides structure. Substitution: Up to 50% can be swapped with whole wheat flour for a denser texture.
- Warm Water – Activates yeast and hydrates dough. Prep Note: Temperature should be around 110°F (43°C).
- Instant Yeast – Leavens dough, creating the puff. Substitution: Active dry yeast can be used but may require proofing.
- Sugar – Feeds yeast to aid in fermentation. Note: Can be reduced for a less sweet bread.
- Salt – Enhances flavor and strengthens dough. Warning: Avoid excessive salt as it can inhibit yeast activity.
- Olive Oil – Adds tenderness and flavor. Substitution: Can be omitted for a chewier texture.
For Cooking
- Olive Oil or Cooking Spray – Prevents sticking when cooking. Tip: Use a light coating for effortless cooking.
How to Make Fluffy Homemade Pita Bread
-
Activate Yeast: In a large bowl, combine warm water (around 110°F or 43°C), sugar, and instant yeast. Let this mixture sit for 5–10 minutes until it becomes foamy, indicating that the yeast is active.
-
Mix Ingredients: Add all-purpose flour, salt, and olive oil to the yeast mixture. Stir everything together until you form a shaggy dough that pulls away from the sides of the bowl.
-
Knead: On a floured surface or using a stand mixer, knead the dough for about 5–6 minutes until it’s smooth and elastic. If kneading by hand, it may take about 8–10 minutes.
-
First Rise: Transfer the dough to an oiled bowl, cover it with a clean cloth, and let it rise in a warm place for 1 to 1.5 hours, or until it has doubled in size.
-
Divide Dough: Once risen, punch down the dough gently to release air. Divide it into 8 equal pieces, shape each piece into a ball, and let them rest under a cloth for 10–15 minutes to relax the gluten.
-
Roll Pitas: On a floured surface, roll each ball into a circle about 1/4-inch thick. Aim for even thickness to ensure uniform cooking.
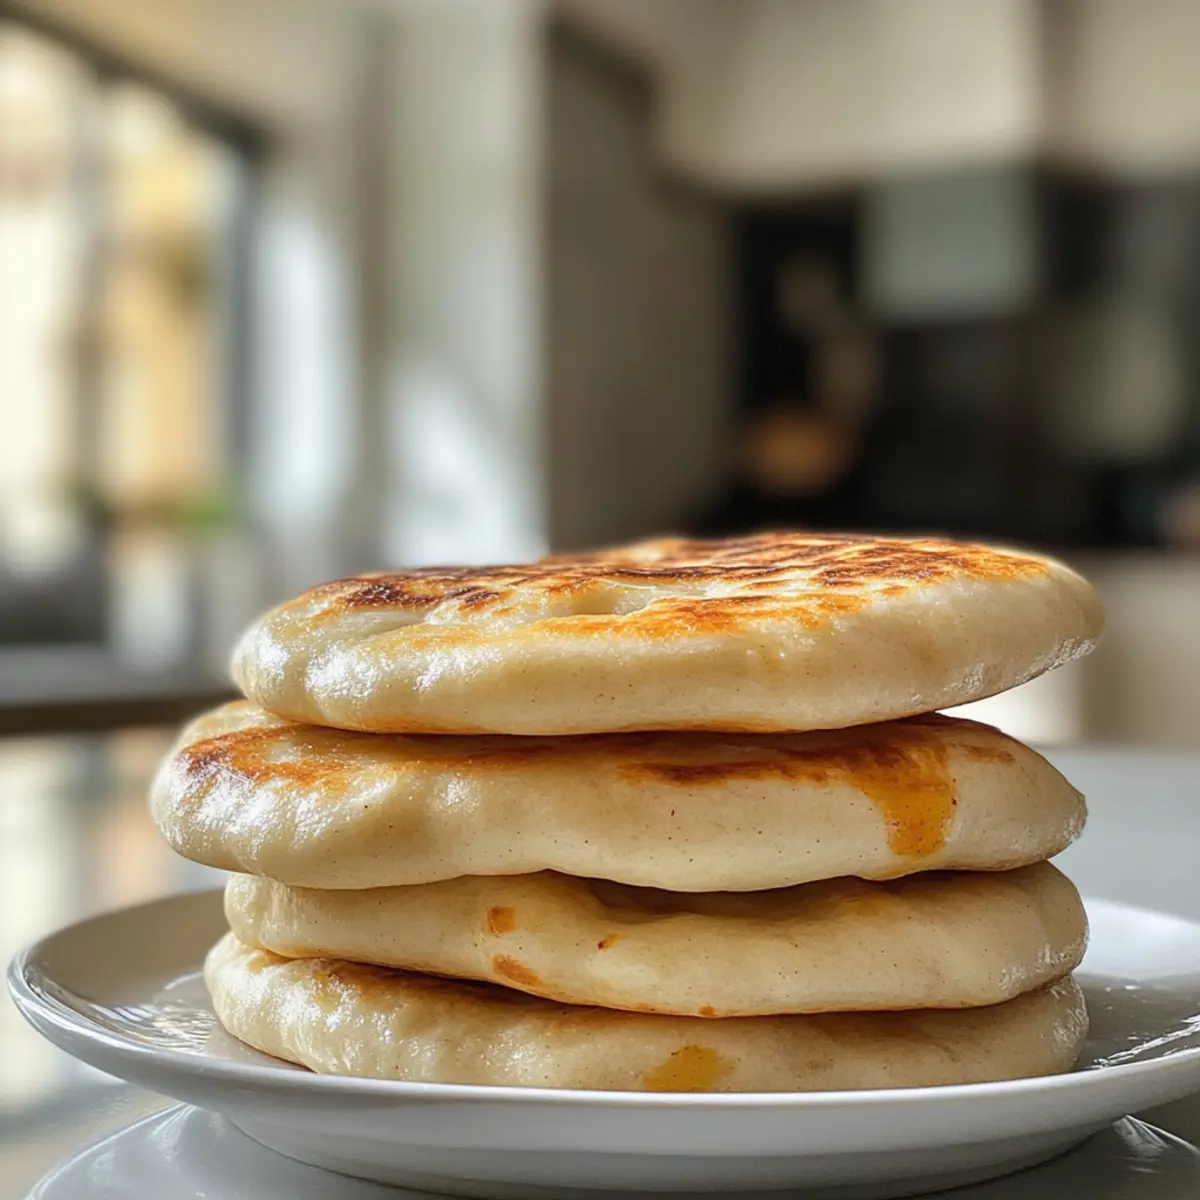
-
Cook: Heat a cast iron skillet over medium-high heat until hot. Cook each pita for 1–2 minutes on each side, or until they puff up and turn golden brown.
-
Serve: Enjoy your fluffy homemade pitas warm, or let them cool completely for storage.
Optional: Serve these pitas with a drizzle of olive oil for an extra touch of flavor.
Exact quantities are listed in the recipe card below.
Fluffy Homemade Pita Bread Variations
Feel free to unleash your creativity and customize this recipe to match your taste preferences!
- Whole Wheat: Swap up to 50% of all-purpose flour with whole wheat flour for a nutty, hearty flavor and added nutrition.
- Gluten-Free: Replace all-purpose flour with a gluten-free flour blend to enjoy this recipe without gluten.
- Herbed Pitas: Mix in chopped fresh herbs like parsley or oregano into the dough for an aromatic twist that elevates each bite.
- Spicy Variation: Add a pinch of cayenne pepper or smoked paprika to the dry ingredients for a subtle kick.
For those who enjoy a little heat, consider infusing your dough with flavors. Experimenting with spicy herbs can provide an exciting bite that transforms your regular meal into an extraordinary experience.
- Garlic & Onion: Incorporate garlic powder or onion powder for a savory flavor boost that perfectly complements any filling.
- Oil Infusion: Use flavored olive oil, like chili or garlic oil, in place of regular olive oil for an extra flavor layer.
- Sweet Pitas: Stir in a tablespoon of honey or maple syrup to the dough for a slightly sweet version, perfect for breakfast spreads or desserts.
With these variations, your fluffy homemade pitas can be as diverse as your cravings. Enjoy the adventure of baking!
Expert Tips for Fluffy Homemade Pita Bread
-
Proper Activation: Ensure your yeast is fresh and that the water is at the right temperature (110°F); if too hot, it can kill the yeast.
-
Kneading Technique: Knead the dough until it’s smooth and elastic to develop gluten, which is crucial for achieving that fluffy texture in your pita.
-
Rolling Evenly: Take your time to roll out each pita evenly to about 1/4-inch thick; uneven dough may not puff properly, leading to disappointing results.
-
Preheat Skillet: Make sure your skillet is preheated on medium-high heat; this is crucial for a good puff. A cold skillet won’t give you the desired fluffy pita bread.
-
Don’t Overcook: Keep an eye on the pitas while cooking; too long in the skillet can make them tough instead of soft and chewy.
-
Flavor Boost: Feel free to add herbs or spices to the dough for extra flavor; they can elevate your fluffy homemade pita bread from good to unforgettable!
How to Store and Freeze Fluffy Homemade Pita Bread
Room Temperature: Allow pitas to cool completely before storing at room temperature for up to 2 days; wrap in foil or place in an airtight container to maintain freshness.
Fridge: To extend freshness, store pitas in the fridge for up to 5 days; use an airtight container or sealable bag to avoid drying out.
Freezer: For long-term storage, freeze pitas individually with parchment paper between them; they can last up to 3 months in the freezer.
Reheating: To reheat, warm up the pitas in a skillet for a few seconds on each side or microwave them for 10-15 seconds wrapped in a damp paper towel to restore moisture.
Make Ahead Options
These Fluffy Homemade Pita Bread are perfect for busy home cooks looking to save time on meal prep! You can prepare the dough up to 24 hours in advance. Simply follow the recipe steps until the end of the first rise, then wrap the dough tightly in plastic wrap and refrigerate it. When ready to serve, remove the dough from the fridge and let it sit at room temperature for about 30 minutes before dividing and rolling out the pitas. This step ensures your pita retains its fluffiness and rises beautifully during cooking. By prepping ahead, you’ll be able to enjoy freshly made pitas with minimal effort, making your meals feel special even on the busiest nights!
What to Serve with Fluffy Homemade Pita Bread?
Elevate your dining experience with delightful pairings that enhance the warm, pillowy goodness of freshly made pita bread.
- Hummus: This creamy, flavorful dip perfectly complements the soft texture of pita, making each bite a satisfying delight.
- Falafel: Crispy, herb-infused falafel stuffed into warm pita creates a wonderful contrast, perfect for a classic Mediterranean meal.
- Shawarma: Marinated meats bursting with spices pair beautifully with pita, allowing you to enjoy every flavor-packed bite.
- Tabbouleh Salad: Fresh, zesty tabbouleh balances the comforting pita, offering a refreshing counterpoint to your hearty stuffing options.
- Roasted Vegetables: Smoky, caramelized veggies served alongside pita add a lovely depth of flavor and nutrient-rich variety to your meal.
For a sweet ending, consider pairing with Baklava: This nutty, honey-drizzled treat offers a sweet finish that perfectly contrasts the savory fare you’ve enjoyed with your pita.
Fluffy Homemade Pita Bread Recipe FAQs
How do I know if my ingredients are fresh enough?
Absolutely! For the best results, make sure your yeast is fresh and active. Instant yeast typically lasts for about 1-2 years if stored in a cool, dry place. If you’re using active dry yeast, consider proofing it by mixing it with warm water and sugar; it should become bubbly and frothy within 5-10 minutes. When it comes to flour, check for any unusual odors or signs of insect infestation—if you see dark spots or it’s past the expiration date, it’s best to toss it out.
How should I store my homemade pita bread?
Very good question! Let your fluffy homemade pita bread cool completely, then wrap them in foil or place them in an airtight container. At room temperature, they’ll stay fresh for up to 2 days. For longer storage, you can refrigerate them in an airtight bag for about 5 days.
Can I freeze my pita bread?
Absolutely! Freezing is a great way to extend the life of your pitas. First, let them cool completely. Then, stack your pitas with a piece of parchment paper between each one to prevent sticking, and place them in a freezer-safe bag or airtight container. They can last up to 3 months in the freezer. When you’re ready to enjoy them, simply reheat in a skillet or microwave.
What can I do if my pita dough doesn’t rise properly?
This is a common concern, but don’t worry! If your dough hasn’t risen after 1.5 hours, check a few things. First, confirm that your yeast was fresh and properly activated. If your kitchen is too cool, try moving the dough to a warmer spot or placing it in an oven preheated to the lowest setting (then turned off) to create a cozy environment for rising. If the dough is still stubborn, consider adding a touch more sugar next time to give the yeast a boost!
Can I make this recipe gluten-free?
Very much so! For a gluten-free version of fluffy homemade pita bread, use a high-quality gluten-free all-purpose flour blend that contains xanthan gum. Simply replace the all-purpose flour with your chosen gluten-free flour in the same amount and proceed with the recipe as written. Keep in mind that gluten-free dough may behave a bit differently, so you might not get the same fluffiness as with regular flour, but the result will still be delicious!
Are there any dietary considerations for pets or allergies?
Great question! If you have pets, it’s best to keep homemade pita bread away from them, as some ingredients like yeast can upset their stomach. As for allergies, be cautious with any additional spices or herbs you plan to incorporate. Always check with guests about specific allergies before serving. If making pitas for someone with gluten intolerance, ensure that cross-contamination with gluten-containing products is avoided.
Fluffy Homemade Pita Bread That Will Transform Your Meals
Equipment
- Large bowl
- Cast-Iron Skillet
- clean cloth
- floured surface
- Stand mixer
Ingredients
For the Dough
- 3 cups All-Purpose Flour Substitution: Up to 50% can be swapped with whole wheat flour for a denser texture.
- 1.5 cups Warm Water Temperature should be around 110°F (43°C).
- 2 teaspoons Instant Yeast Substitution: Active dry yeast can be used but may require proofing.
- 1 tablespoon Sugar Can be reduced for a less sweet bread.
- 1 teaspoon Salt Avoid excessive salt as it can inhibit yeast activity.
- 2 tablespoons Olive Oil Can be omitted for a chewier texture.
For Cooking
- as needed Olive Oil or Cooking Spray Use a light coating for effortless cooking.
Instructions
Instructions
- In a large bowl, combine warm water (around 110°F or 43°C), sugar, and instant yeast. Let this mixture sit for 5–10 minutes until it becomes foamy, indicating that the yeast is active.
- Add all-purpose flour, salt, and olive oil to the yeast mixture. Stir everything together until you form a shaggy dough that pulls away from the sides of the bowl.
- On a floured surface or using a stand mixer, knead the dough for about 5–6 minutes until it's smooth and elastic. If kneading by hand, it may take about 8–10 minutes.
- Transfer the dough to an oiled bowl, cover it with a clean cloth, and let it rise in a warm place for 1 to 1.5 hours, or until it has doubled in size.
- Once risen, punch down the dough gently to release air. Divide it into 8 equal pieces, shape each piece into a ball, and let them rest under a cloth for 10–15 minutes to relax the gluten.
- On a floured surface, roll each ball into a circle about 1/4-inch thick. Aim for even thickness to ensure uniform cooking.
- Heat a cast iron skillet over medium-high heat until hot. Cook each pita for 1–2 minutes on each side, or until they puff up and turn golden brown.
- Enjoy your fluffy homemade pitas warm, or let them cool completely for storage.
Notes


Leave a Comment